Air-Dry Clay: Trinket Dishes, Ring Holders and Gifts
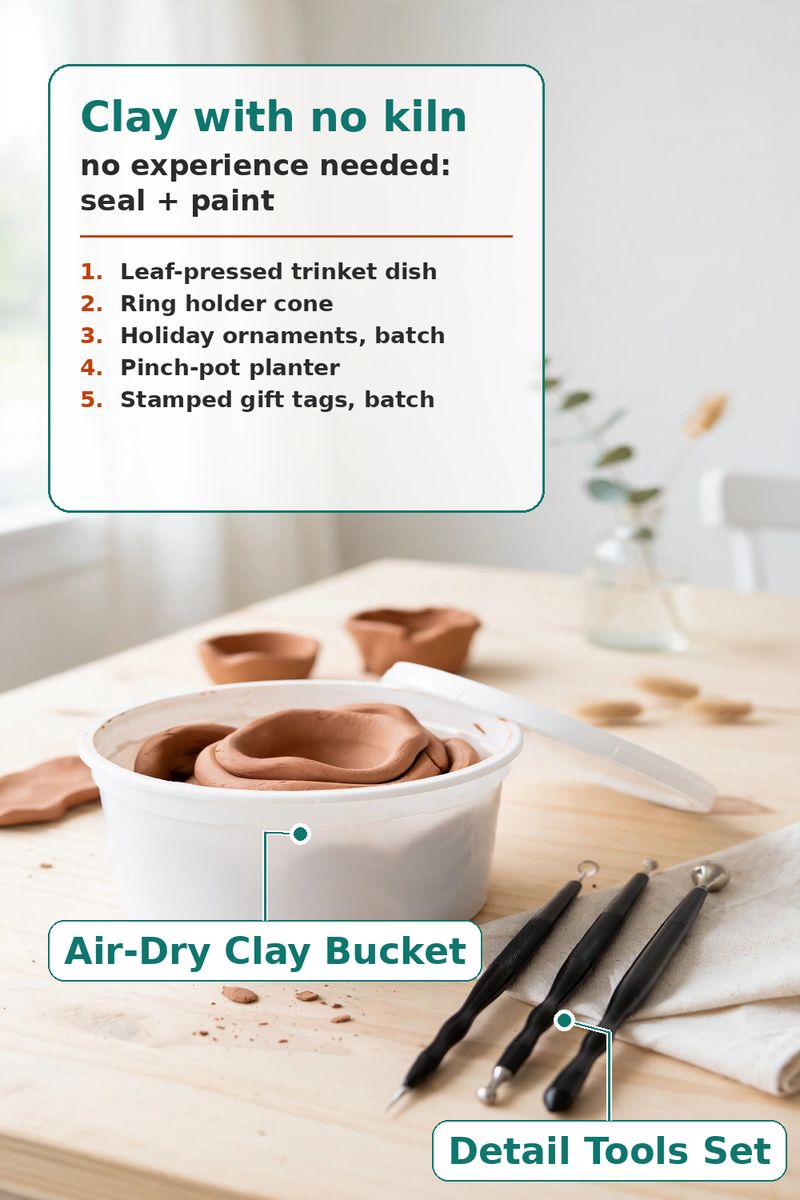
The promise: Beginner air-dry clay projects - dishes, holders, ornaments - with sealing and painting steps included
Air-dry clay is the closest thing to pottery without a kiln: shape it, let it dry on the counter for a day or two, paint it, seal it, and it is done. No experience needed and no special equipment beyond one small kit. Start with a bucket of terra-cotta air-dry clay, shape with a set of detail tools and round cutters, paint with acrylic markers once dry, and finish with a coat of clear gloss varnish so the piece survives actual use. The five projects: 1) a leaf-pressed trinket dish, 2) a ring holder cone, 3) holiday ornaments, 4) a pinch-pot planter, and 5) stamped gift tags. Each one dries flat and hard, paints cleanly, and makes a gift people actually keep.
How this post keeps its promise
Every project follows the same four steps: roll or shape, dry flat for 24–48 hours (flip once so both sides dry evenly), paint with the markers, then seal with two thin coats of varnish, letting the first coat dry before the second. No kiln, no oven, no experience — the drying time does the hard part.
- Leaf-pressed trinket dish (30 min shaping, then dry): Roll a slab about 1/4 inch thick, press a real leaf face-down into it with the rolling pin, and cut around it with the largest cutter. Lift the leaf off, press the slab gently into a small bowl to give it a dish curve, and trim the rim smooth with a detail tool. Dry, paint the veins with a marker, varnish twice.
- Ring holder cone (15 min shaping, then dry): Roll a ball of clay, shape it into a cone about 3 inches tall on a small round base, and smooth the seam with a detail tool. Dry, paint it one bold color or add dots and stripes with the markers, varnish twice, and rings slide right onto it.
- Holiday ornaments (20 min for a batch, then dry): Roll a slab, cut a batch of circles and stars with the cutters, poke a hanging hole near the top of each with a detail tool, and stamp a simple pattern or initial into the surface. Dry flat, paint, varnish, thread with ribbon.
- Pinch-pot planter (20 min shaping, then dry): Roll a ball, press your thumb into the center, and pinch the walls up and out into a small pot shape, smoothing the rim with a detail tool. Let it dry thoroughly — thicker walls need the full 48 hours — then paint the outside, varnish, and drop a small potted succulent in (keep the nursery pot inside; air-dry clay is not for direct watering).
- Stamped gift tags (15 min for a batch, then dry): Roll a thin slab, cut small rectangles or circles with the cutters, stamp a word or pattern into each with a detail tool tip or a cutter edge, and poke a hole for twine. Dry, paint the stamped lines for contrast, varnish once, and tie onto gifts.
Products mentioned
- Crayola Air-dry Clay Bucket, 2.5 Lb., Terra-cotta Clay
the clay itself — air-dries hard with no kiln, and 2.5 pounds is enough for all five projects below with clay to spare for a second round.
[Affiliate Link Would Go Here] - Sculpey Tools: Dual End Detail Tools - 3pc Set
six working ends for shaping, smoothing, and detailing — the difference between a lumpy dish and one with clean edges and a finished rim.
[Affiliate Link Would Go Here] - YYV Pottery Cutting Rings, 5 Sizes Round Hollow Clay Cutter Molds Set
five round cutter sizes give you matching dishes, ornament blanks, and gift tags with perfectly even edges, no freehand wobble.
[Affiliate Link Would Go Here] - kezile Acrylic Paint Markers, Brush Tip Art Markers
brush-tip acrylic pens paint dried clay cleanly with no brushes to wash — color, lettering, and fine detail in one set.
[Affiliate Link Would Go Here] - WowtheShoes 150ml Clear Gloss Varnish for Pottery Clay Crafts, Non Toxic Water Based Sealer
the sealing step the promise includes — one or two thin coats make dishes and ornaments water-resistant, glossy, and durable enough to use and gift.
[Affiliate Link Would Go Here]
Also grab on the same run: a rolling pin or smooth bottle for rolling slabs, a real leaf or two for pressing, parchment paper for drying pieces on, and a small paintbrush if you prefer brushing the varnish on instead of pouring it.
Demo site: product links are placeholders, and prices are intentionally omitted.