Thrift Flip: A Thrifted Side Table to the Best Thing in the Room
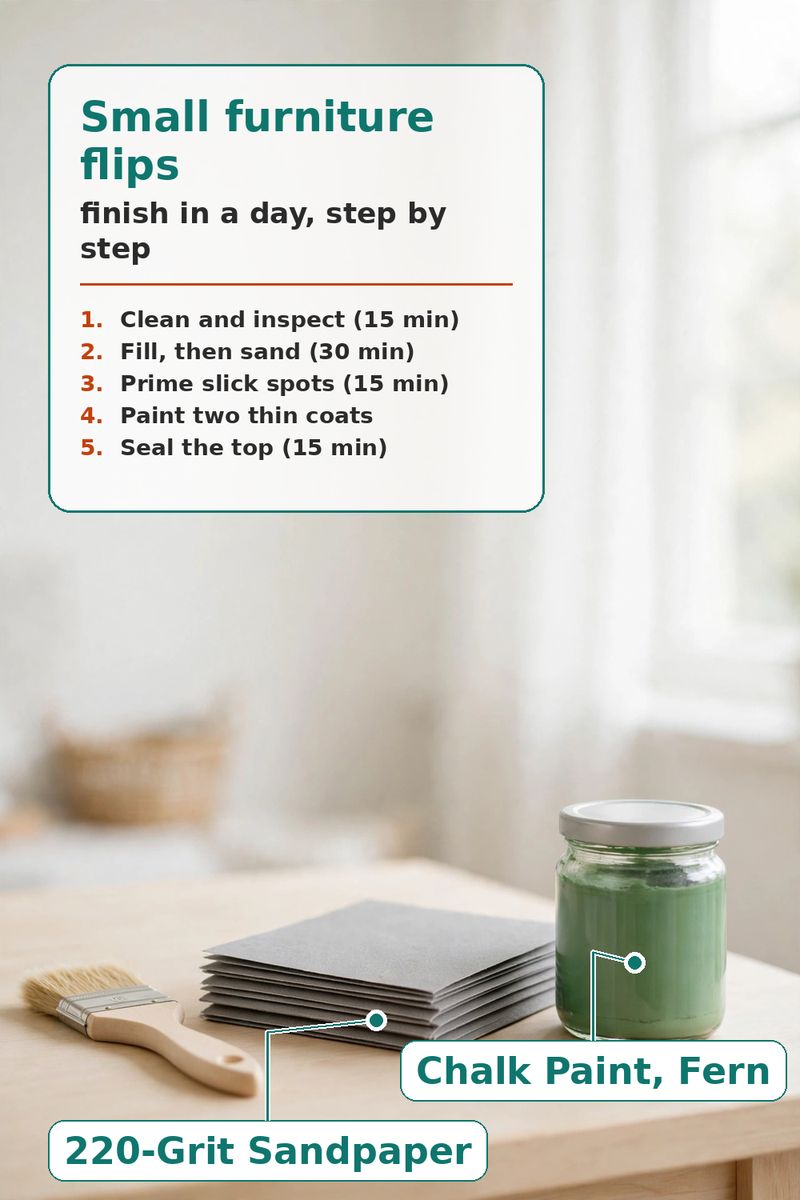
The promise: A step-by-step small furniture flip - clean, sand, prime, paint, hardware - with the supply list that prevents do-overs
Start by cleaning it and filling every dent and screw hole, then sanding smooth so the paint actually grips. Two thin coats of chalk paint beat one thick coat every time: the first coat finds the flaws, the second one hides them. Swap the tired old knob for brass, seal the top where coffee cups will land, and you have a piece that looks bought, not rescued. The full step-by-step is in this post: prep order, drying times, and the three mistakes that force a do-over. Save it for your next thrift run.
How this post keeps its promise
- Step 1 — Clean and inspect (15 min): wipe the whole piece down, tighten every screw, and mark every dent, chip and wobbly joint. Remove the old hardware and the drawer so you can paint edges cleanly.
- Step 2 — Fill, then sand (30 min + dry time): press filler into dents and old screw holes with a putty knife, let it dry, then sand the whole piece with 220-grit until it feels smooth to a bare hand. Wipe away all dust — dust under paint is the most common do-over.
- Step 3 — Prime slick spots (15 min + dry time): bare wood and scuffed paint can go straight to chalk paint. If the piece is slick laminate or glossy varnish, spot-prime those areas first so the paint does not peel off in sheets later.
- Step 4 — Paint two thin coats (2 × 20 min + dry time between): brush with the grain, thin coats only. A thick coat drips on legs and pools in corners; a thin first coat dries fast and shows you exactly where the second coat needs to go. Lightly sand between coats if it feels rough.
- Step 5 — Seal the top (15 min): the tabletop takes cups, books and elbows, so seal it with a clear topcoat or wax and let it cure before use. Skip this and the first coffee ring becomes a permanent souvenir.
- Step 6 — Swap the hardware and style it (10 min): fit the brass knobs, put the drawer back, and style the table where it will live. Photograph it in daylight, before-and-after, while the flip is still fresh.
Three mistakes that force a do-over: painting over dust, one thick coat instead of two thin ones, and skipping the seal on the top. Avoid those three and a one-day flip stays a one-day flip.
Products mentioned
- Waverly Inspirations Chalk Paint, Ultra Matte, Fern, 8 Fl Oz
the paint step itself — ultra-matte chalk paint that grips a scuffed thrift finish and covers in two thin coats, no stripping required.
[Affiliate Link Would Go Here] - Uxcell 220 Grits Waterproof Sandpaper Wet Dry Sand Paper Wood Furniture Finishing Silicone Grey 5pcs
the sand step — 220-grit is fine enough to smooth without gouging, and wet/dry sheets let you sand between coats for a finish that does not feel gritty.
[Affiliate Link Would Go Here] - Dap Plastic Wood-x With Drydex 16 Oz Natural Wood Filler Adhesive
the do-over preventer — fills dents, chips and old screw holes so paint does not telegraph every thrift-store scar.
[Affiliate Link Would Go Here] - Pbpbox 9pcs Paint Brush Set With Wooden Handle And Natural Beige Bristles For Furniture Painting
the application step — a flat brush for the tabletop, smaller brushes for legs and edges, so you are not dragging one wrong brush over the whole piece.
[Affiliate Link Would Go Here] - Tablzone Set Of 2 Golden Brass Bow Cabinet Knobs, Elegant Decorative Drawer Pulls Hardware For Furniture
the finale — new brass hardware is the single swap that makes a thrifted table read as intentional, and a pair covers a drawer plus a door.
[Affiliate Link Would Go Here]
Also grab on the same run: a spray primer if your piece is slick laminate, a clear topcoat or wax to seal the top, painter's tape, and a drop cloth or old sheet.
Demo site: product links are placeholders, and prices are intentionally omitted.